")
As a Shopify store owner, you’re probably using AI tools for specific tasks like content creation and SEO.
But what if you could automate beyond these areas to improve your entire operational workflow?
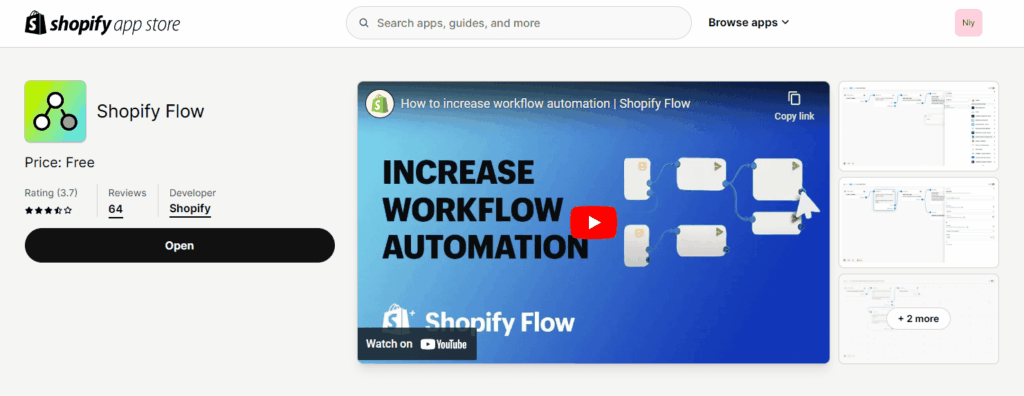
Meet Shopify Flow, an automation tool designed just for Shopify.
This tool helps you with event-based tasks like canceling orders from known bad email addresses or holding fulfillments with high order values.
And the best part? It's completely free and available to all Shopify users now!
What is Shopify Flow?
Shopify Flow is Shopify's own automation app that lets you create custom workflows without coding.
Suppose you're having a busy season and getting more orders than usual.
In that case, you can set up a workflow to receive a daily summary of all your unfulfilled orders older than two days.
Here’s another example: have you ever had customers place two orders on the same day, only to call later asking to combine them, but you've already shipped them separately?
This can frustrate customers, especially if they're charged twice for shipping.
With Shopify Flow, you can create an automation that pauses fulfillment whenever a customer places multiple orders within 24 hours (or more).
This gives you time to adjust the orders as needed, improving customer satisfaction and saving on shipping costs.
Who can use Shopify Flow?

Shopify Flow is available on Shopify's Basic, Shopify, Advanced, and Plus plans.
Earlier, Shopify Flow was exclusive to users on Shopify Plus and Advanced plans. Starting in July 2023, it became available to those on the Basic plan as well!
While most features of Shopify Flow are available across all of these plans, there are some differences:
- Merchants on the Shopify, Advanced, and Plus plans can use the Send HTTP Request task.
- Only merchants on the Plus plan can use tasks created by custom partner apps.
- The usage limits for Shopify Flow vary by plan, based on the API limits set for each.
How does Shopify Flow work?
The Shopify Flow app works based on three components:
- Trigger
- Condition
- Action
Let’s use the following example to understand how Shopify Flow works.
Suppose you’re a luxury brand where typical customers order in small quantities.
However, you encountered an issue when a new customer placed an order for 20 high-end watches at once.
This large order was automatically processed, but the fraud customer later filed a chargeback, leaving you to deal with payment processors and shipping companies.
To prevent such issues in the future, you can set up a Shopify Flow workflow.
This workflow will email you a notification whenever an order exceeds a predefined item quantity threshold.
Here's how it would work:
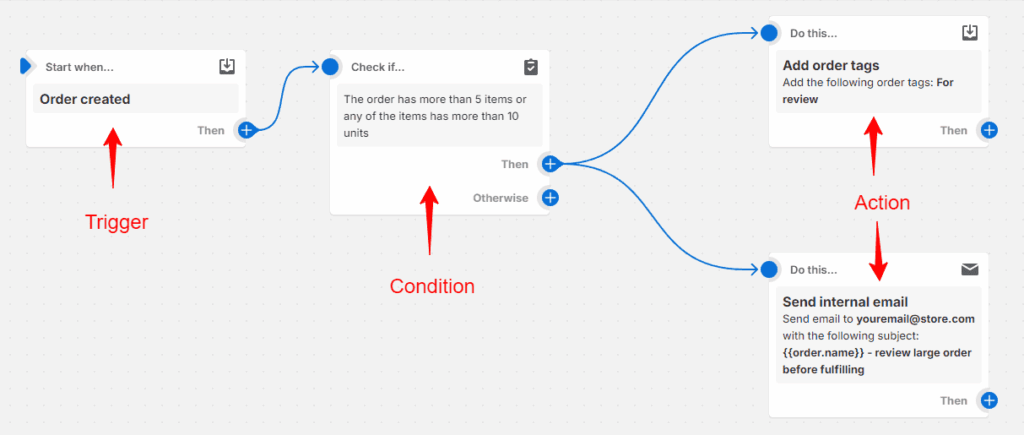
1. Trigger
The trigger is what starts your workflow, activating the automation when a particular event happens.
In the above example, the trigger is when an order is placed.
2. Condition
Conditions are rules that need to be met for the workflow to move forward after the trigger. They act as filters to make sure only the right situations lead to further action.
In our example, you can set a condition to check if the order contains more than five products or if any of the products contains more than ten units.
3. Action
Actions are the steps taken once the trigger and condition have been met. They decide what happens next in the workflow.
In our example, if the order contains more than five items (or any of the items has more than ten units), it triggers the action where the order is tagged 'for review.' An email is also sent to review the unusually large order.
Things you need to know before using Shopify Flow
Before we learn how to create a workflow, here are some key points to keep in mind:
- Conditional workflow. Shopify Flow uses conditional, if/then logic. For example, if a specific condition, like purchasing more than five of the same product, is met, then a corresponding action, such as sending a notification, is executed.
- Understanding of logic and GraphQL. Although you don’t need any code to create workflows, having a basic understanding of logic flows, GraphQL, and data fields can simplify the process. That said, if you have limited knowledge, you can still create workflows, but you’ll need a bit of patience.
- Immediate activation. Workflows start running as soon as they're triggered.
- No retroactive function. Workflows do not work retroactively. They won't automatically apply to past orders. You’ll need to trigger the workflow manually by following the steps here.
- Different handling of drafts and orders. Workflows treat orders and draft orders differently. Actions or triggers set up for orders will not affect draft orders and vice versa.
- Limitations with tags. If an order, product, or customer has more than 250 tags, workflows involving tags may not work correctly.
How to use Shopify Flow
Now that you know what Shopify Flow is, let's walk through how you can start using it.
Step 1: Install the Shopify Flow app
First, log in to your Shopify admin. Then click on ‘Apps’ on the left side menu and search for ‘Flow’ in the app search bar.
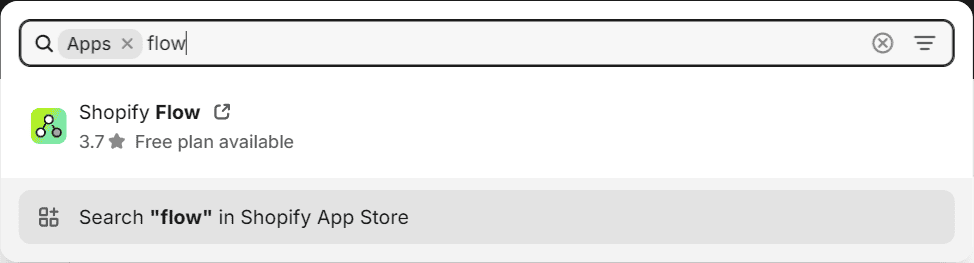
You'll be directed to the Flow app on the Shopify App Store. Click 'Install' to add it to your store.
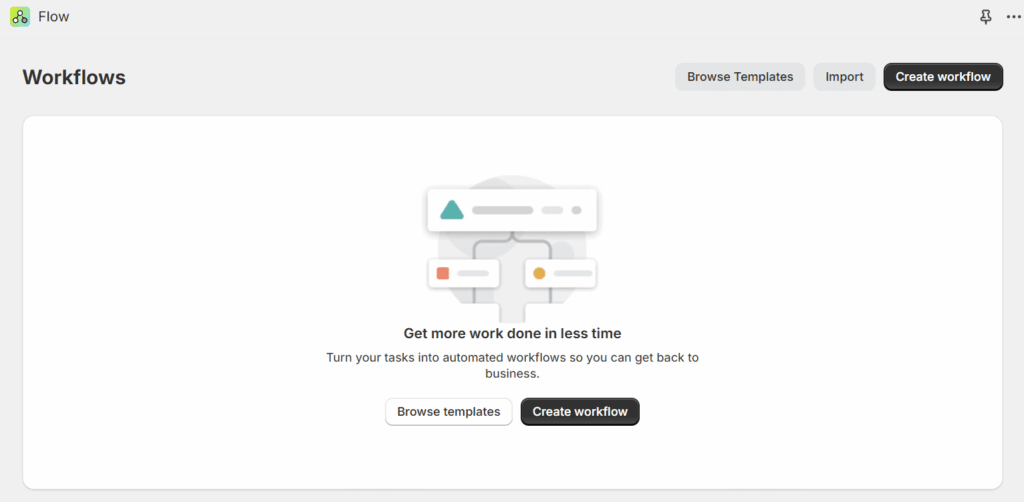
Step 2: Explore the app
On the top of the Shopify Flow app, you’ll find all the workflows you have active. As you have just installed the app, you’ll see two options:
- Browse templates. Shopify offers over 150 pre-built templates for various tasks.
- Create workflow. You can set up your own workflow from scratch.
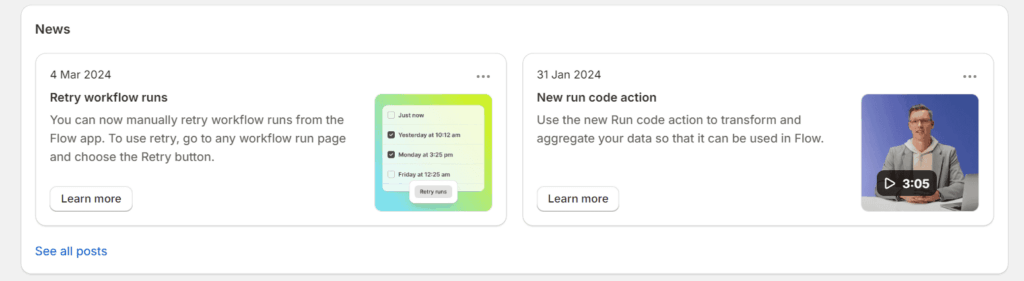
In the middle section, you'll find the latest news on Shopify Flow, as Shopify keeps adding new features to the app.
In the bottom section, you'll see featured templates.
To explore them, you can either click 'See all templates' or go to the top and click 'Browse templates' on the right-hand side.

Step 3: Create a workflow
You can start using a pre-built template or create a custom workflow.
To use a template:
- Browse through the templates individually.
- Search for a keyword in the search bar.
- Select a category like B2B, Customers, or Risk.
Now, let's walk through setting up a Shopify Flow workflow.
Suppose you want to track the use of a specific discount code, ‘ANNA10,’ given to an Instagram influencer named Anna.
Anna will be sharing this code with her followers tomorrow, and since you have other active discount codes, you want to ensure you receive notifications specifically for this one.
Luckily, there’s a template that can help you with that!
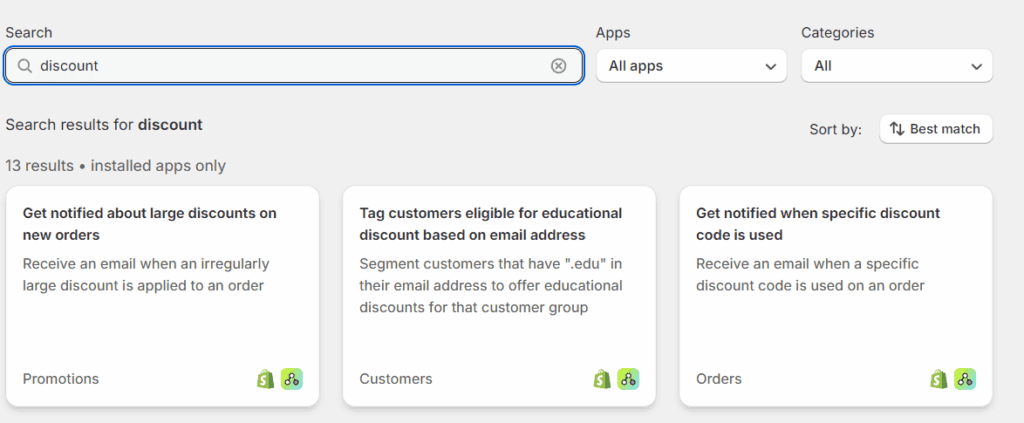
First, navigate to the search bar in Shopify Flow and type in 'discount.' From the search results, choose the template named ‘Get notified when specific discount code is used.’
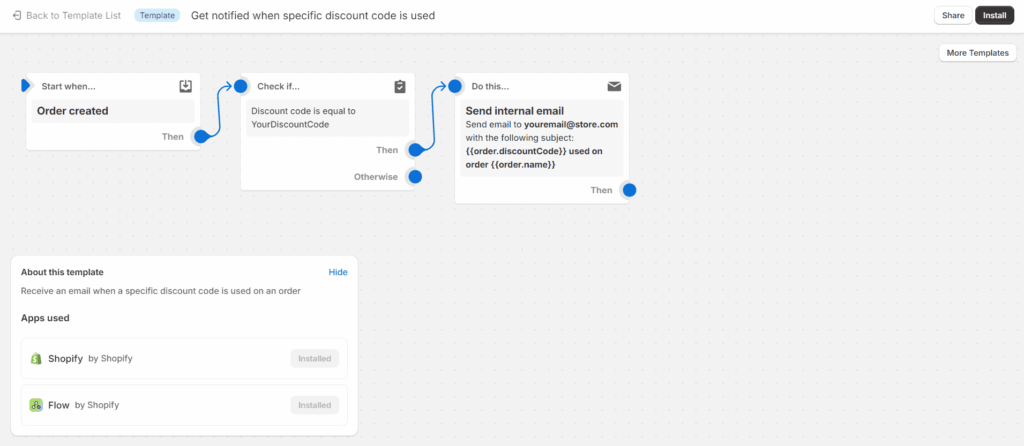
You'll see a visual workflow with the trigger, condition, and action.
- Trigger (Start when). The workflow starts when an order is created.
- Condition (Check if). It checks if the discount code is applied.
- Action (Do This). An email is sent to you whenever this discount code is used.
To start setting up and making edits, click ‘Install’ at the top right corner of the screen to add this workflow to your Shopify Flow.
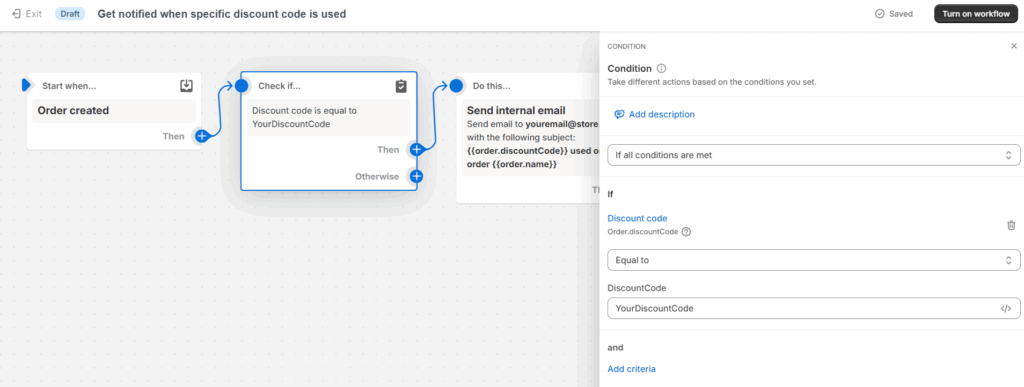
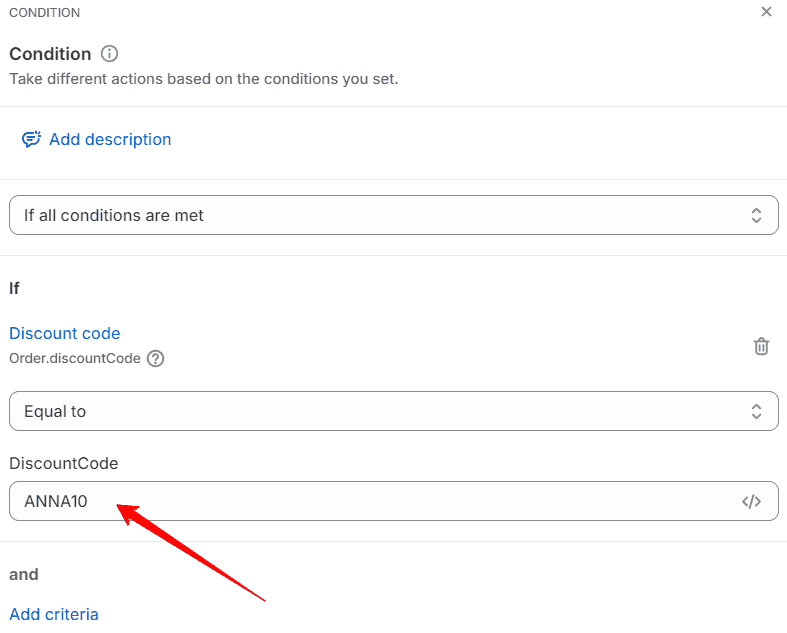
Next, click on the 'Check if' box to customize the workflow for the 'ANNA10' code.
This opens the condition details on the right side of your screen, where you’ll see the ‘DiscountCode’ field. Replace ‘YourDiscountCode’ with ‘ANNA10’.
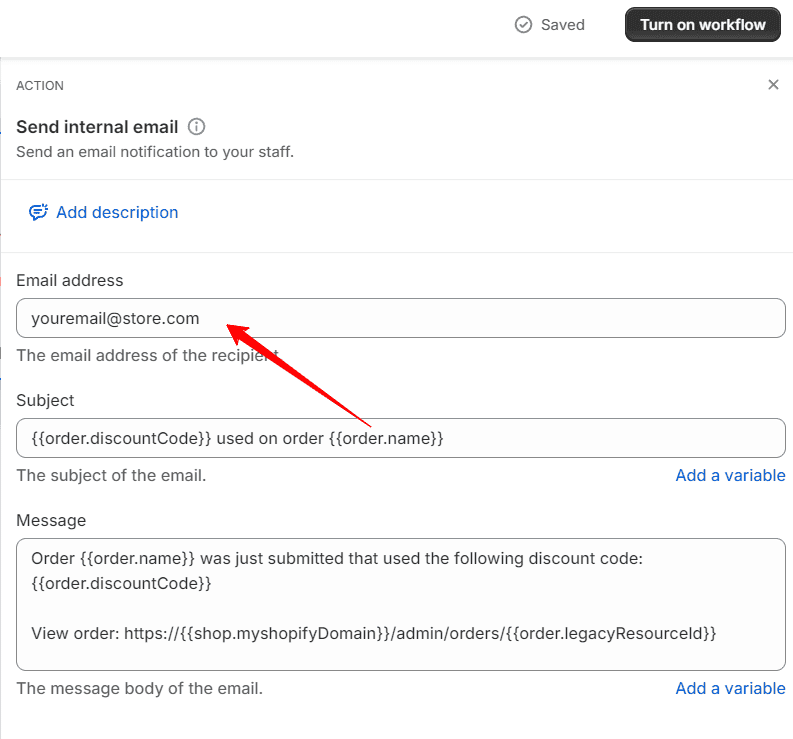
Then, adjust the action by clicking on the ‘Do this’ box. Here, enter your email address in the ‘Email address’ field to ensure notifications are sent directly to you.
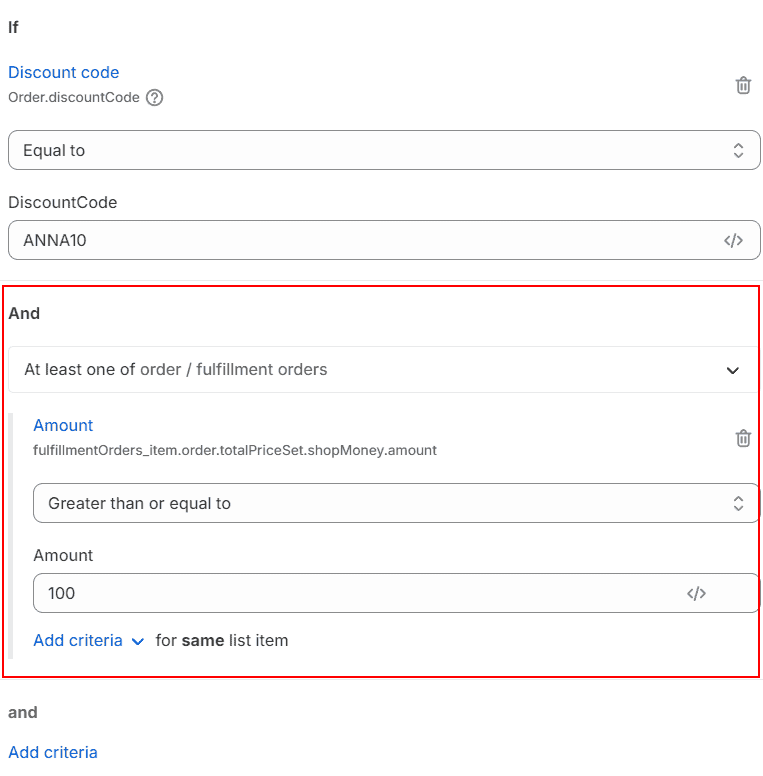
If you want to add any other criteria, you can click the ‘Add criteria’ hyperlink in the ‘and’ section.
For example, if you want to be notified only for orders above $100, you can add a criterium by going to Order > FulfillmentOrder > order > totalPriceSet > shopMoney > amount.
Then select ‘Greater than or equal to’ from the Amount dropdown and add ‘100’ in the text field.
Once you've configured these settings, click the ‘Turn on workflow’ button located at the top right of the screen to activate the workflow right away.
Finally, it’s a good idea to place a test order using the ‘ANNA10’ discount code to confirm that the workflow functions as intended and you receive the email notification.
What are Shopify Flow Connectors?
Shopify Flow Connectors allow you to add third-party apps to your Shopify Flow workflows.
These connectors allow you to use specific apps either to trigger an event or to carry out an action within your workflow.
When you set up a trigger with a connector, the app sends relevant data to Shopify Flow to start a workflow.
Conversely, when you set up an action, Shopify Flow sends information back to the app to execute a specific task.
For example, if you want to automatically record data about international orders in Google Sheets, you'd connect Shopify Flow with your Google Sheets account.
Which apps does Shopify Flow work with?
Currently, Shopify Flow is compatible with about 40 different apps. Some of the popular examples include:
- Aftership
- Yotpo
- Loox Reviews
- Gorgias
- LoyaltyLion
- Klaviyo
- Stamped
- Omnisend
- Asana
- OpenAI
- Trello
- Smile.io
- Mesa
- SeoAnt
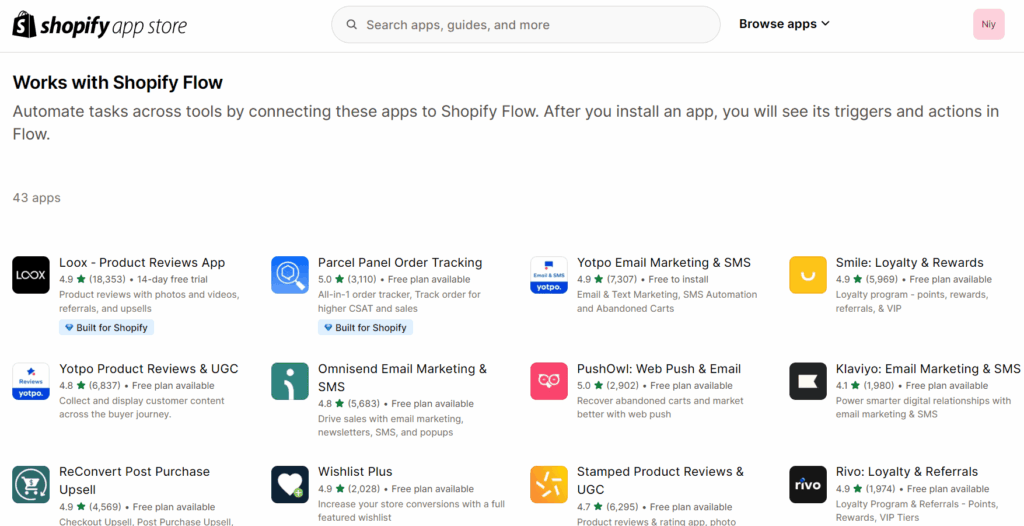
You can check the rest of the list in the Shopify App Store or in the Search box when you create a trigger, condition, or action.
When you deselect the ‘Installed apps’ box, you should see the apps you can use to create workflows.
Shopify Flow example using a third-party app
Let’s say you want to send handwritten notes to customers on their second order using an app like Scribeless to make the customers feel more valued.
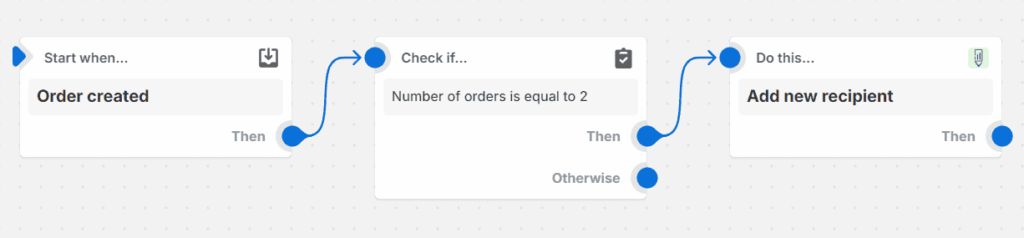
Here’s how you can do it:
- Click the ‘Create workflow’ button on the top right side of your screen, and then click ‘Select a trigger.’
- In the search box, search for ‘order’ and click on the first option: ‘Order created.’
- Next, click on the blue plus icon (Then) and select ‘Condition’ from the options.
- Click on the ‘Condition’ box, followed by the ‘Add criteria’ hyperlink.
- Select Order > customer > numberOfOrders.
- Enter ‘2’ in the ‘NumberOfOrders’ field. The ‘Condition’ box will show ‘Number of orders is equal to 2.’

- Next, click on the blue plus icon (Then) and select ‘Action’ from the options.
- Click on the ‘Scribeless’ app. If you don’t have it installed, search for the app and click ‘Get this app.’
- Then, add the campaign ID from your Scribeless campaign and your API key from your Scribeless account page.
- Then click on ‘Turn on workflow.’
Make sure you test out this workflow by going to your Scribeless campaign summary in the Scribeless platform and clicking 'Enable Testing.'
Benefits of using Shopify Flow
Shopify Flow offers several compelling benefits, which is why we highly recommend it!
- Visual workflow builder. Shopify Flow has a user-friendly interface that lets you design custom workflows quickly. You don’t need any coding knowledge to get started.
- Shopify ecosystem integrations. Since Shopify created Flow, it fits perfectly with your store’s existing features.
- Free access. One of the great advantages of Shopify Flow is that it's free. It's available on all Shopify plans, including the Basic plan!
- Saves times. Automating tasks with Shopify Flow cuts down on manual labor. This frees up your time to focus on important parts of your business, like marketing strategy and managing finances.
- Consistency. Automation means tasks get done the same way every time, which reduces mistakes.
- App integration. Shopify Flow allows for integration with apps like Google Sheets, adding more functions and letting you link it with other tools you use.
How do users rate Shopify Flow?
From what we've gathered by viewing reviews online and asking our readers, most merchants have found Shopify Flow super helpful!
The best part? It's free of cost and is available on all of Shopify's ecommerce plans.
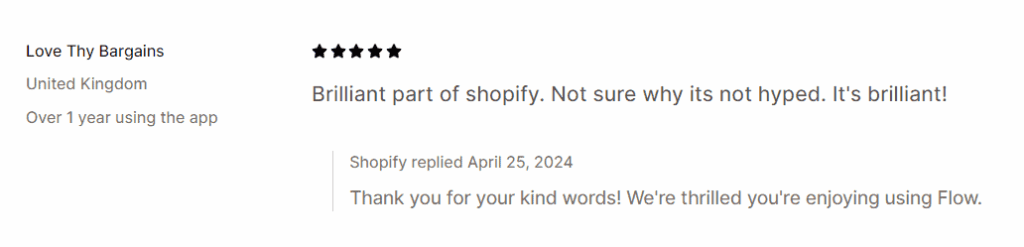
Here's what some Shopify merchants have to say about their experiences with Shopify Flow:
I'm relatively new but I am very impressed so far. I was looking for a way to automatically tag a customer when they purchased a specific product, and it took about 5 minutes of figuring out where the information was I wanted, and hey presto, exactly the automation I need. I'm delighted!
Sandwich Glass Museum
Flow is class if you know how to use it!
There's a Flow (workflow) to tag customers as VIPs and send an email to the customer care rep when one of them places an order so they get special care. There's another where we flagged high-risk orders, too.
There's so many use cases!
Reddit user
FAQs about Shopify Flow
Here are some more FAQs about Shopify Flow:
How much does Shopify Flow cost?
Shopify Flow is 100% free for Shopify Basic, Shopify, Advanced, and Shopify Plus users.
How do I create a workflow in Shopify?
To create a workflow in Shopify, go to your Shopify admin, navigate to Settings > Apps and sales channels, and open Shopify Flow. Click 'Create workflow,' select a trigger, add conditions, and define actions. Finish by naming your workflow and turning it on to activate.
How to test Shopify flow?
To test Shopify Flow, activate the workflow and create a relevant event (like a new collection) in your Shopify admin to trigger it. Monitor the Activity page to ensure the workflow executes as expected.
Summary
Before we go, we've created a quick summary of this article for you, so you can easily remember it:
- Shopify Flow is Shopify’s automation tool that lets you create custom workflows without any coding knowledge.
- It's free and available across all Shopify plans, including Basic, Shopify, Advanced, and Plus.
- The app works with three main elements: trigger, condition, and action, which automate tasks based on specific scenarios.
- While you don’t need to code, having some understanding of logic flows, GraphQL, and data fields can make creating workflows easier.
- You can also connect Shopify Flow with third-party apps to enhance functionality, like automatically recording data about international orders in Google Sheets.
Final thoughts
We personally found Shopify Flow to be an excellent tool for Shopify merchants!
It’s especially useful for smaller merchants who may not have access to middleware tools like Zapier.
Flow's ability to create custom workflows can be highly beneficial if you understand its capabilities and think creatively about automating your operations.
However, the downside is that Shopify doesn’t provide detailed documentation on how to use Flow.
If you ever need help, Shopify’s active community is a great resource for support and advice.
We hope you find our guide useful and that it helps you improve your processes using Shopify Flow. Feel free to share in the comments how you've used Shopify Flow or any tips you might have for others.
Want to learn more about Shopify?
Ready to move your Shopify store to the next level? Check out the articles below:
- Do You Need a Business License to Sell on Shopify? (2024)
- 14 Best AI Copywriting Tools for Dropshipping (Free & Paid)
- Shopify Sales Funnel: How to Build One in 2024 (+ Best Apps)
Plus, don’t forget to check out our in-depth how to start a Shopify store guide here.
")
")


